The Stern Insider Connected (IC) kit is primarily designed for online connectivity—tracking scores, challenges, and leaderboards. However, the Pro version includes a new apron that already has cutouts for the original Stern flasher lamps, similar to those found on newer machines like JAWS.
The problem: On the Jurassic Park Pro, these lamps are not installed from the factory. Yet, the holes in the apron are now there.
So: I made them myself.
The Idea
The goal was a solution that looks cleaner than the factory mounting on machines like JAWS—and above all, works without permanent modifications. No drilling, no gluing, nothing irreversible on the playfield. The holders should simply clip into the existing cutouts.
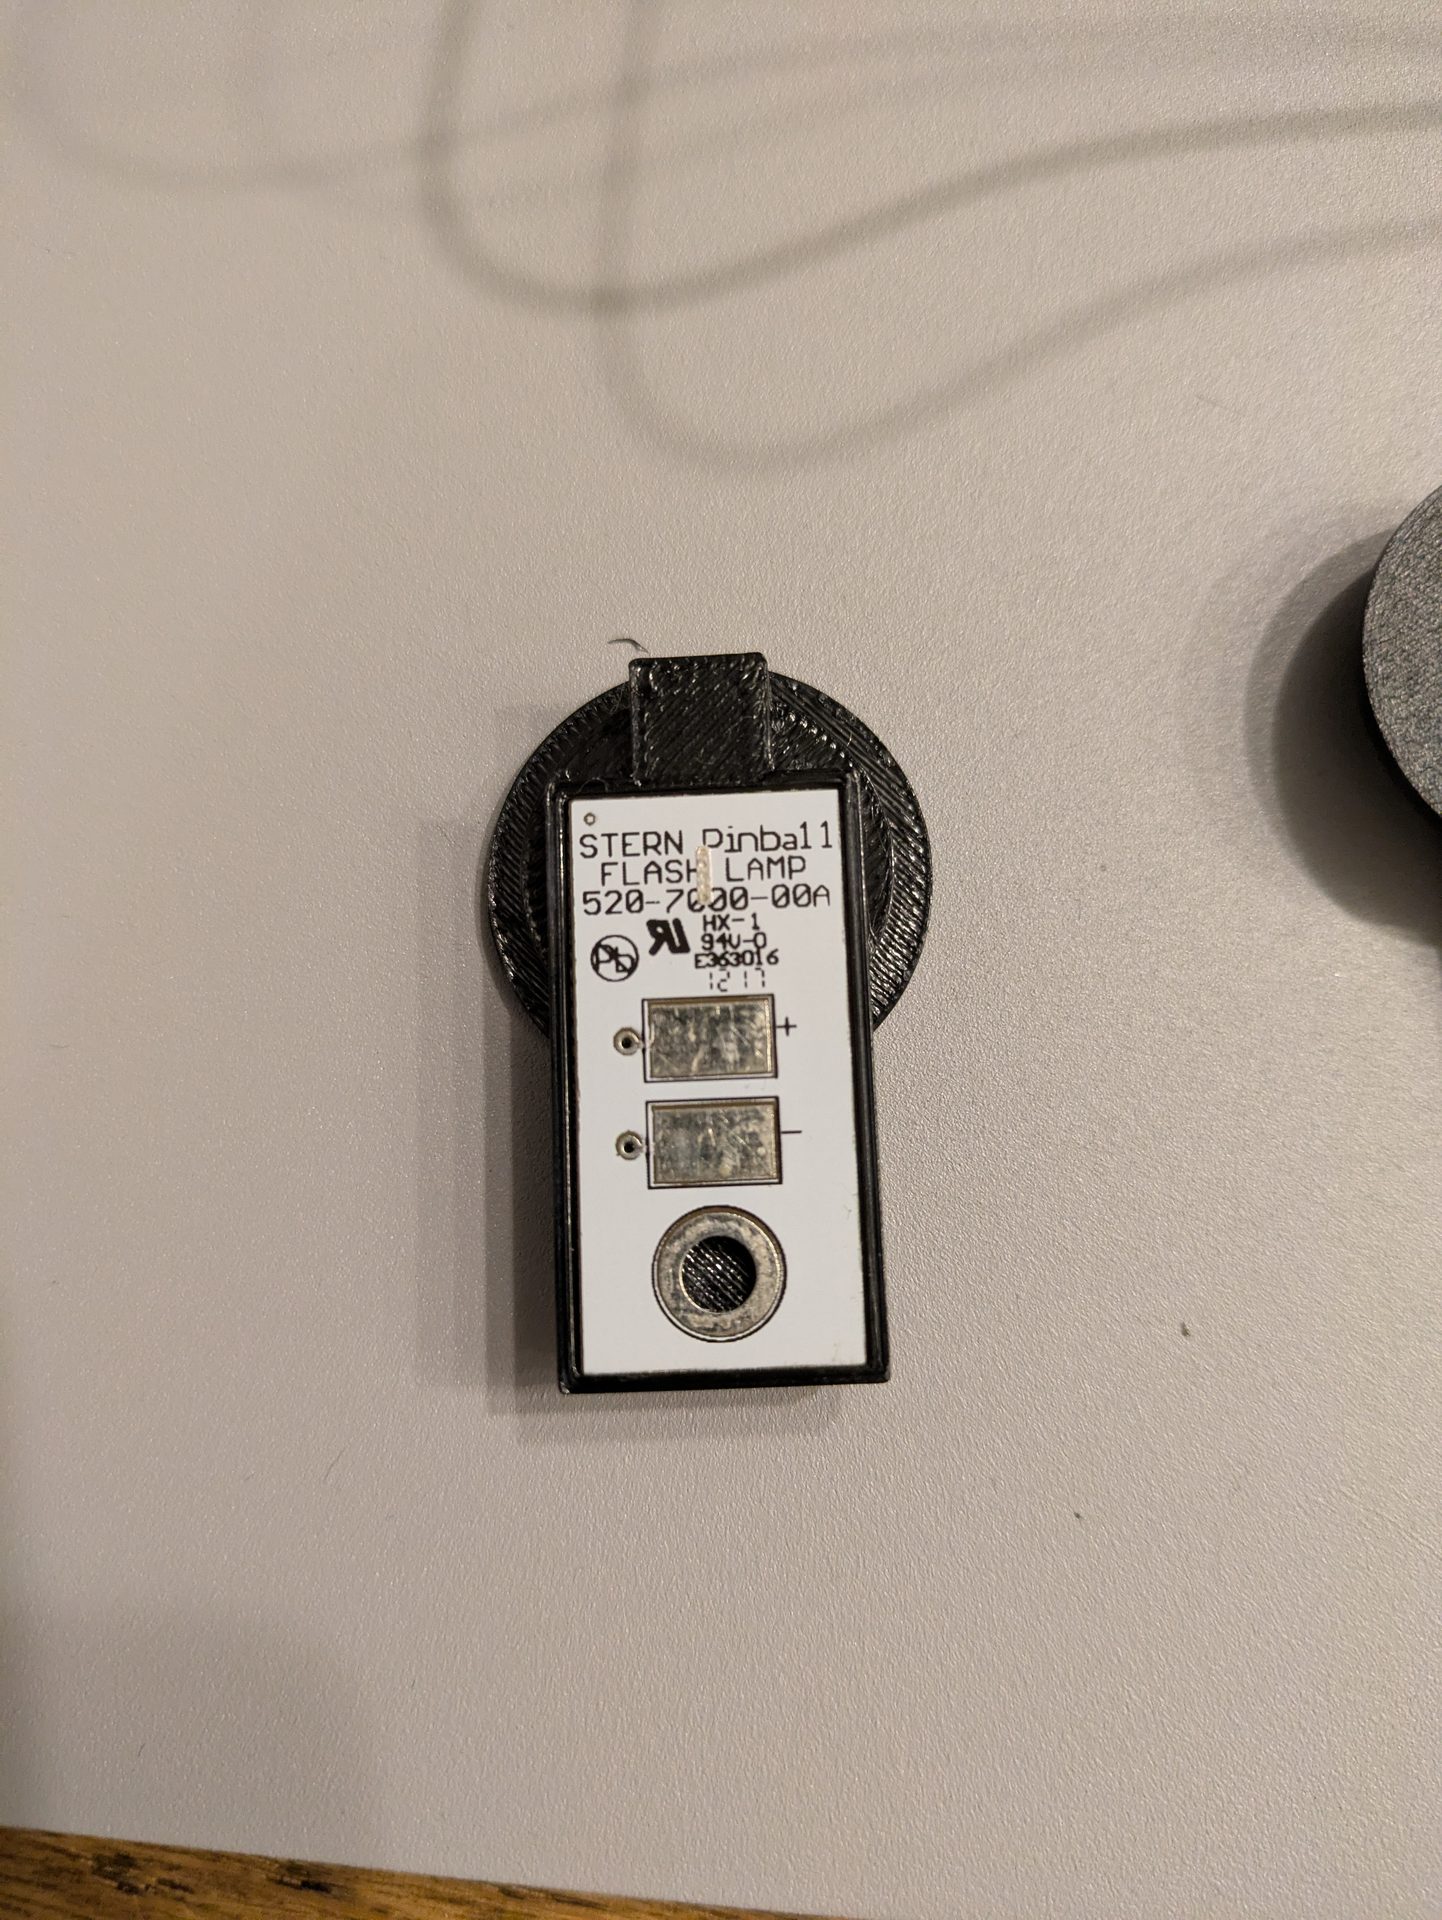
I used the original Stern flasher lamps (part number #520-7000-00)—the same ones used in JAWS. They provide additional light directly onto the playfield, which looks great, especially when the room is dark.
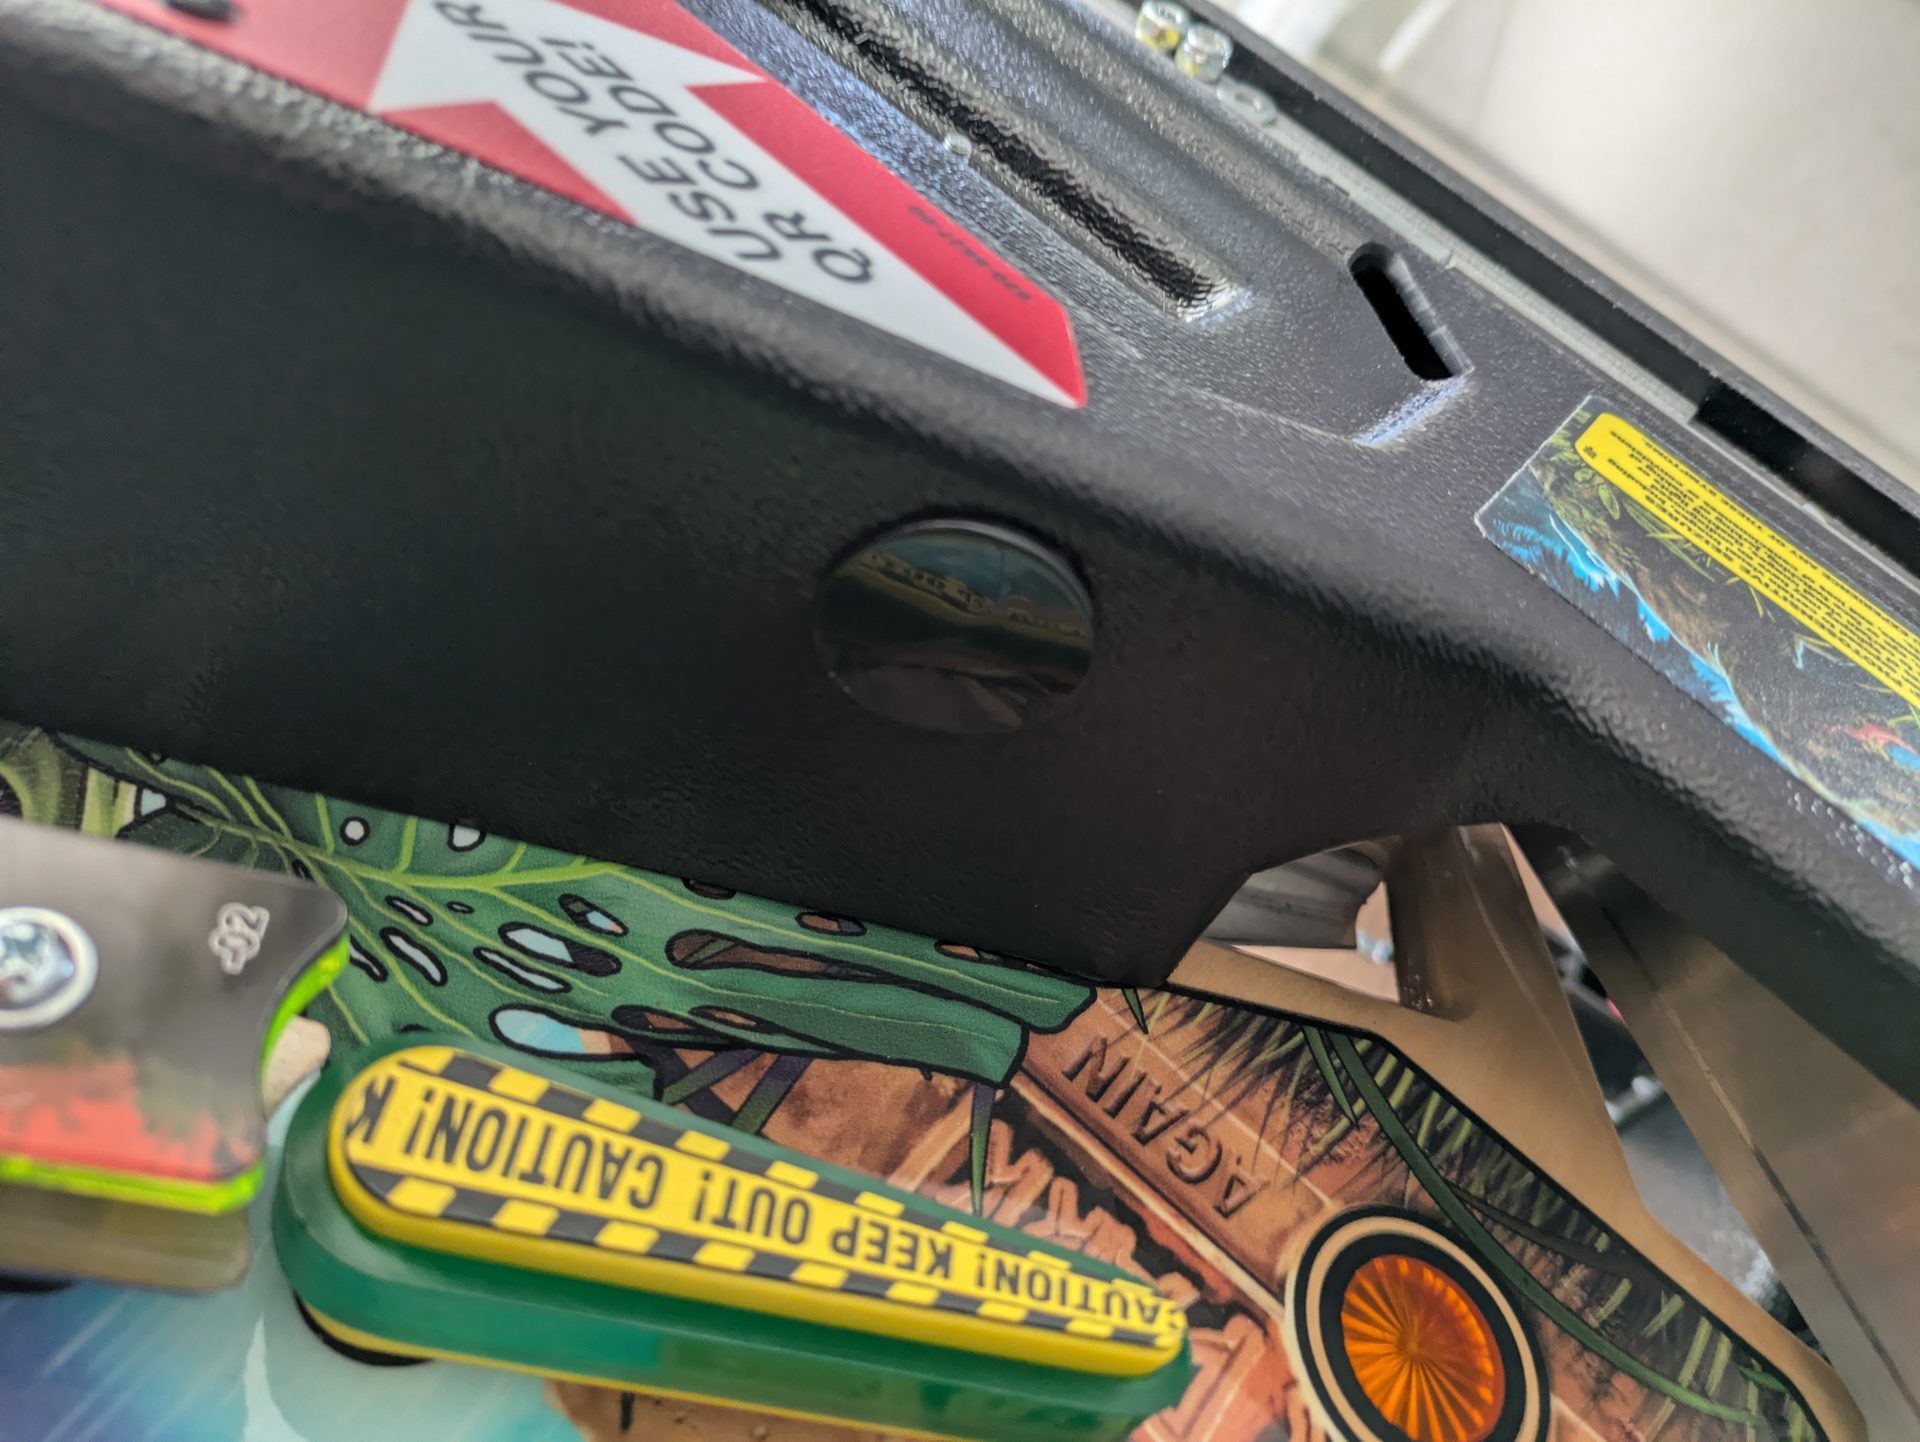
The new IC kit apron — cutouts are present, but LEDs are missing.
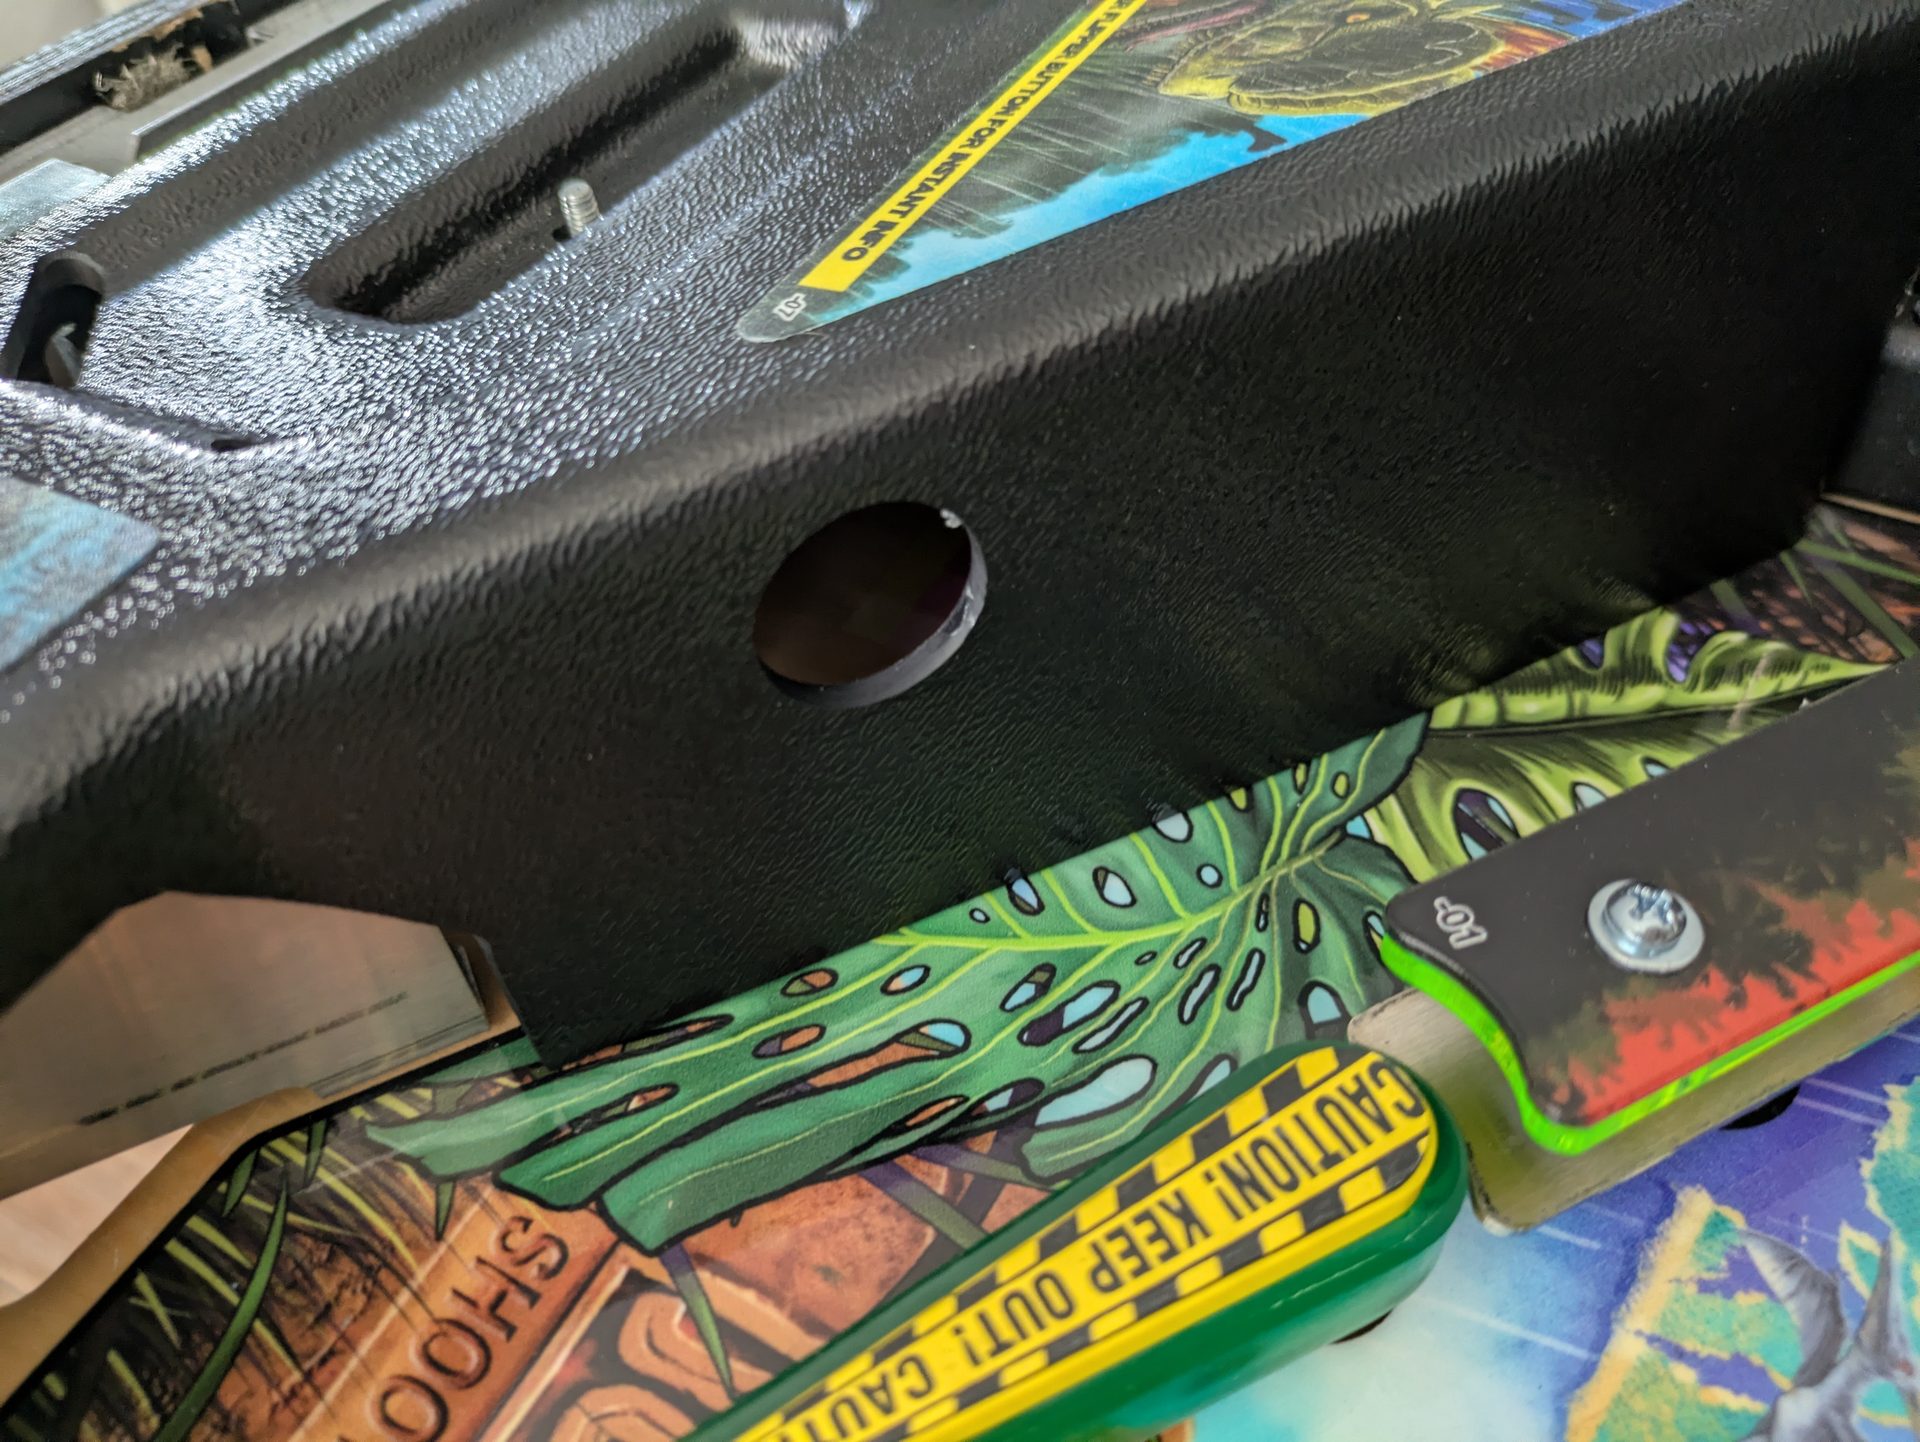
The pre-cut holes — perfectly designed for clip-in holders.
3D Design
First, I measured the cutouts and designed a holder that clips in precisely—no play, no adhesive, no screws. The holder houses the Stern flasher lamp and aims it directly at the playfield. The STL file is available on Thingiverse: Stern Apron LED Holder on Thingiverse
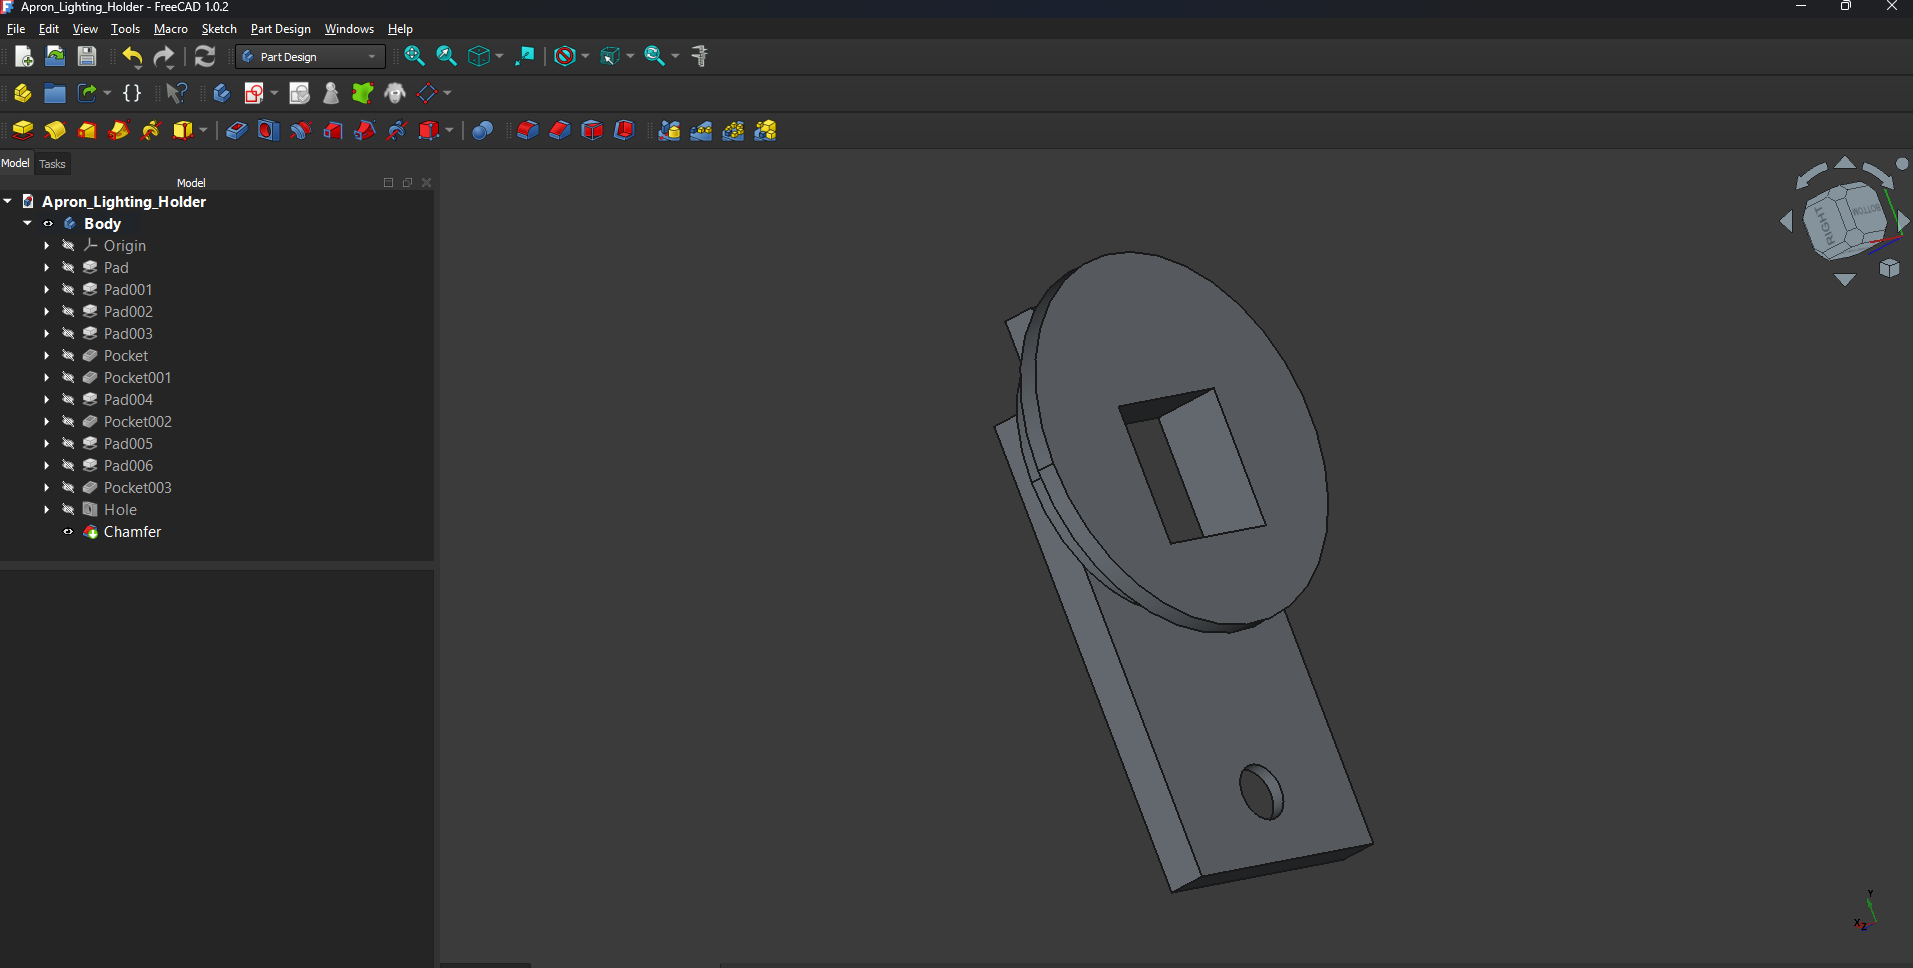
CAD design of the clip-in holder.
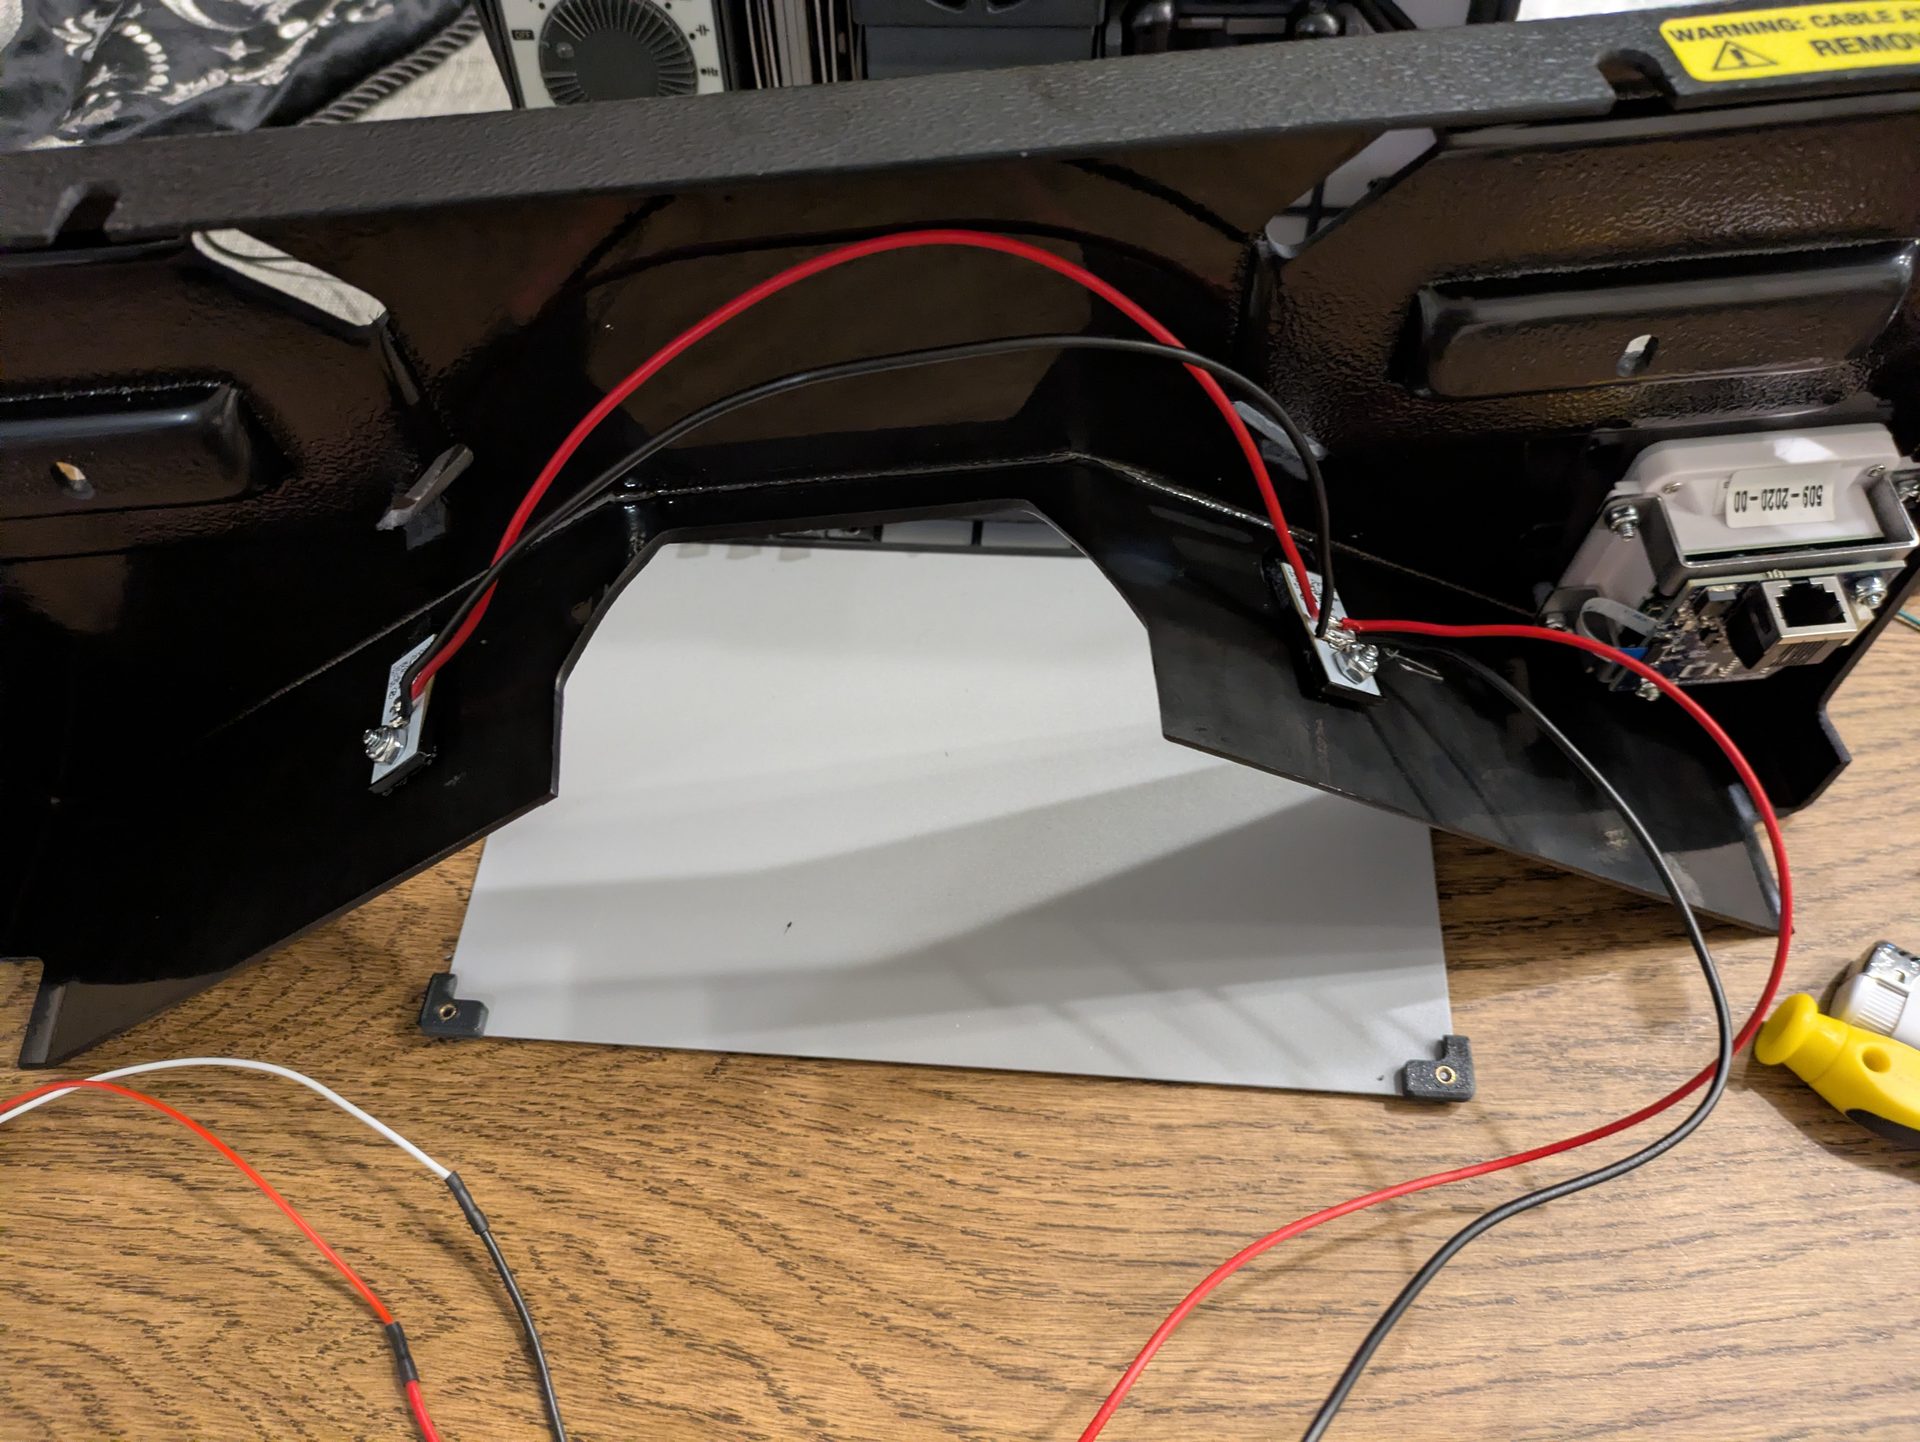
Printing and Installing the Lamps
After printing: The Stern flasher lamp (#520-7000-00) was inserted, wired, and soldered. The lamp fits snugly in the holder with zero wobbling.
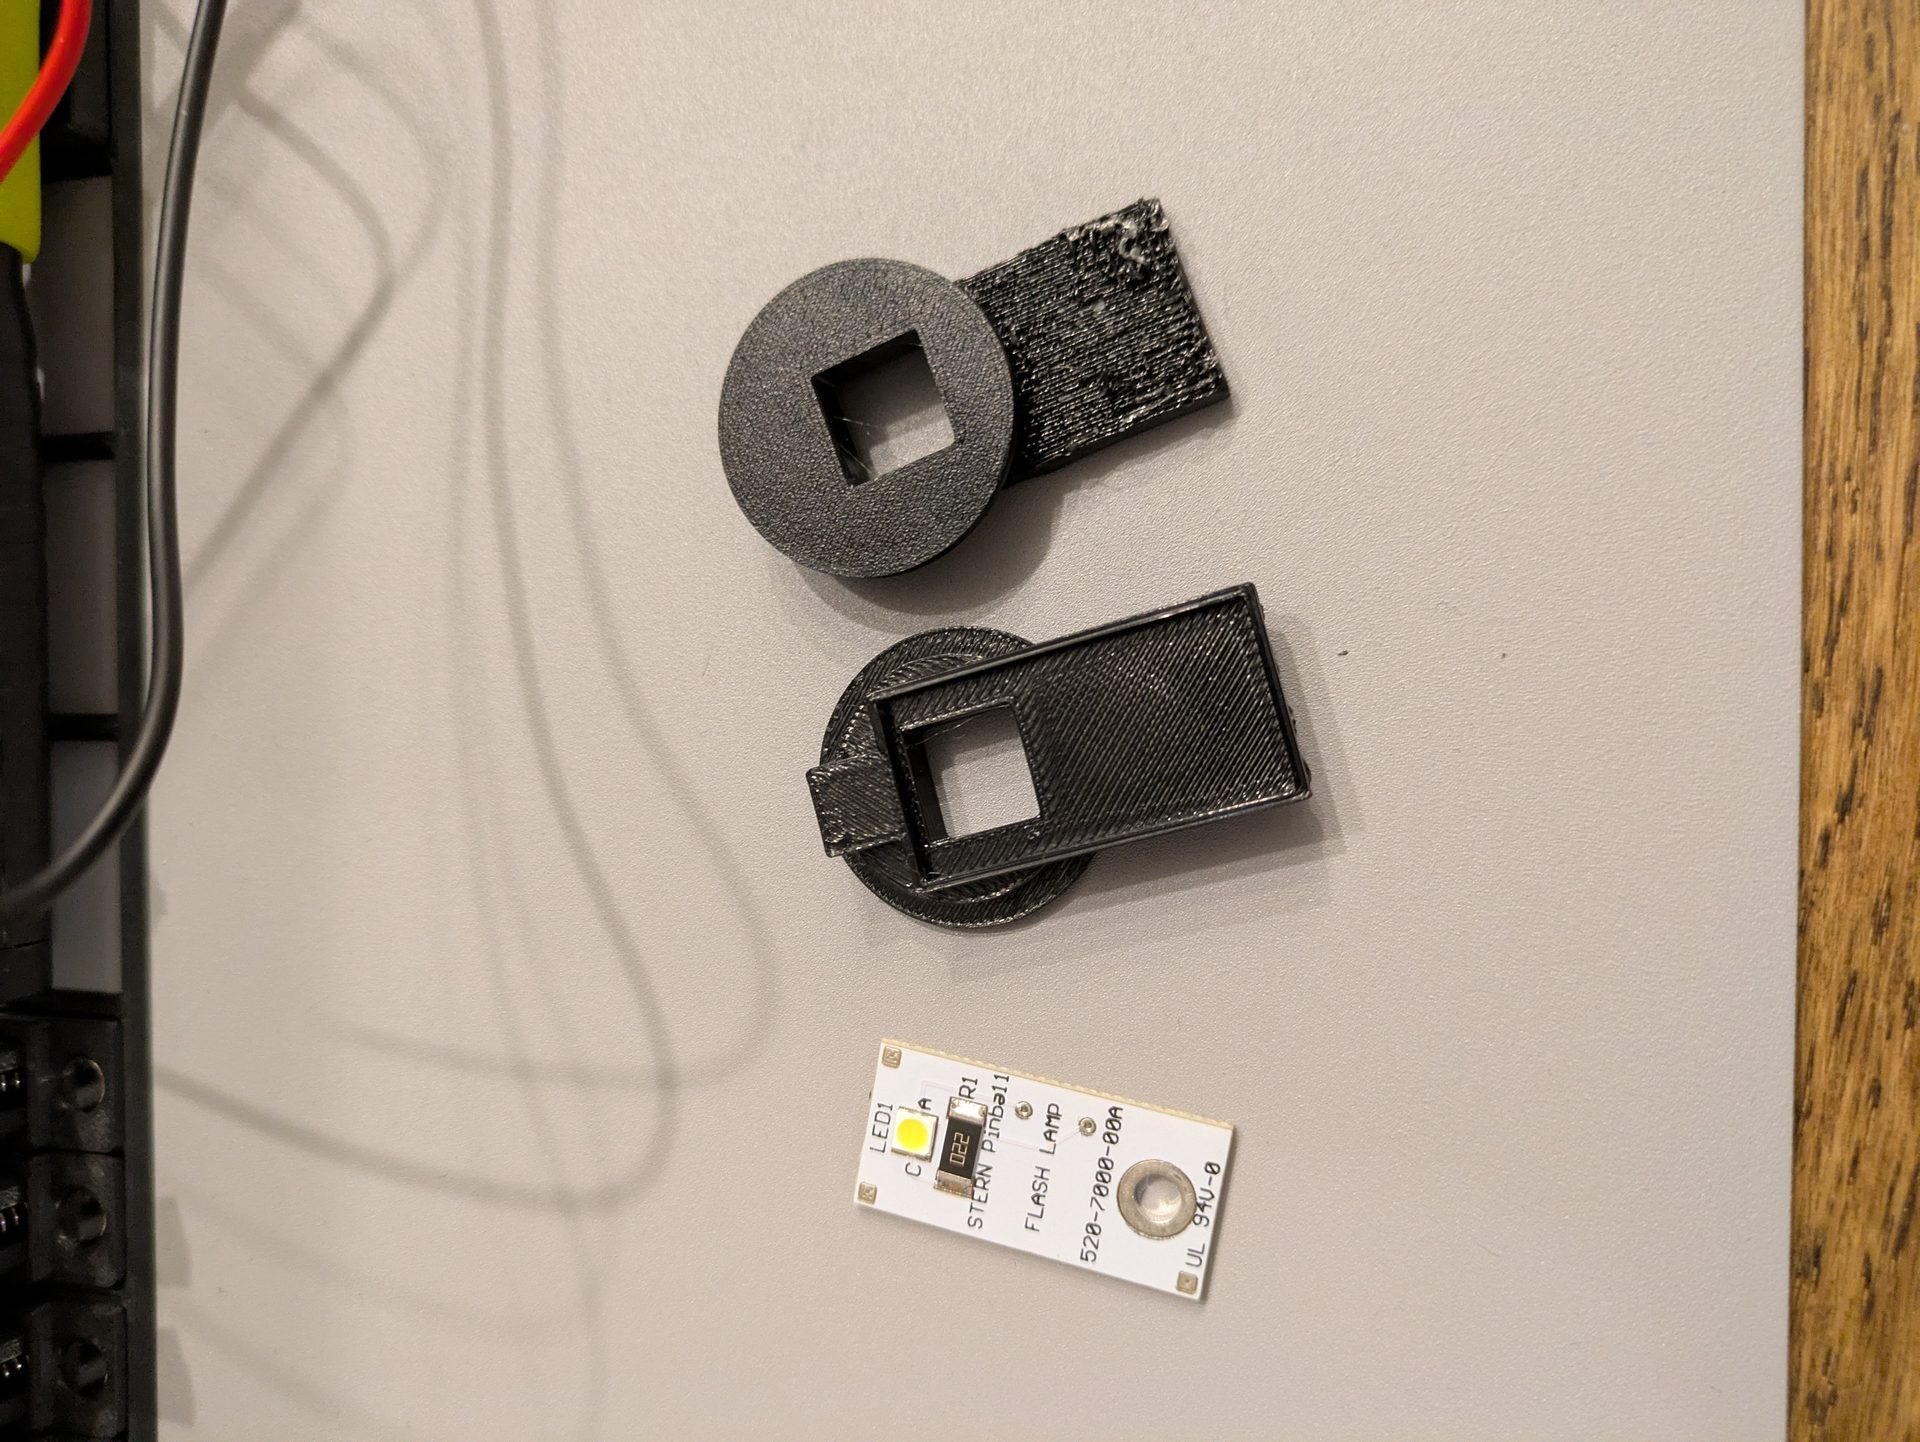
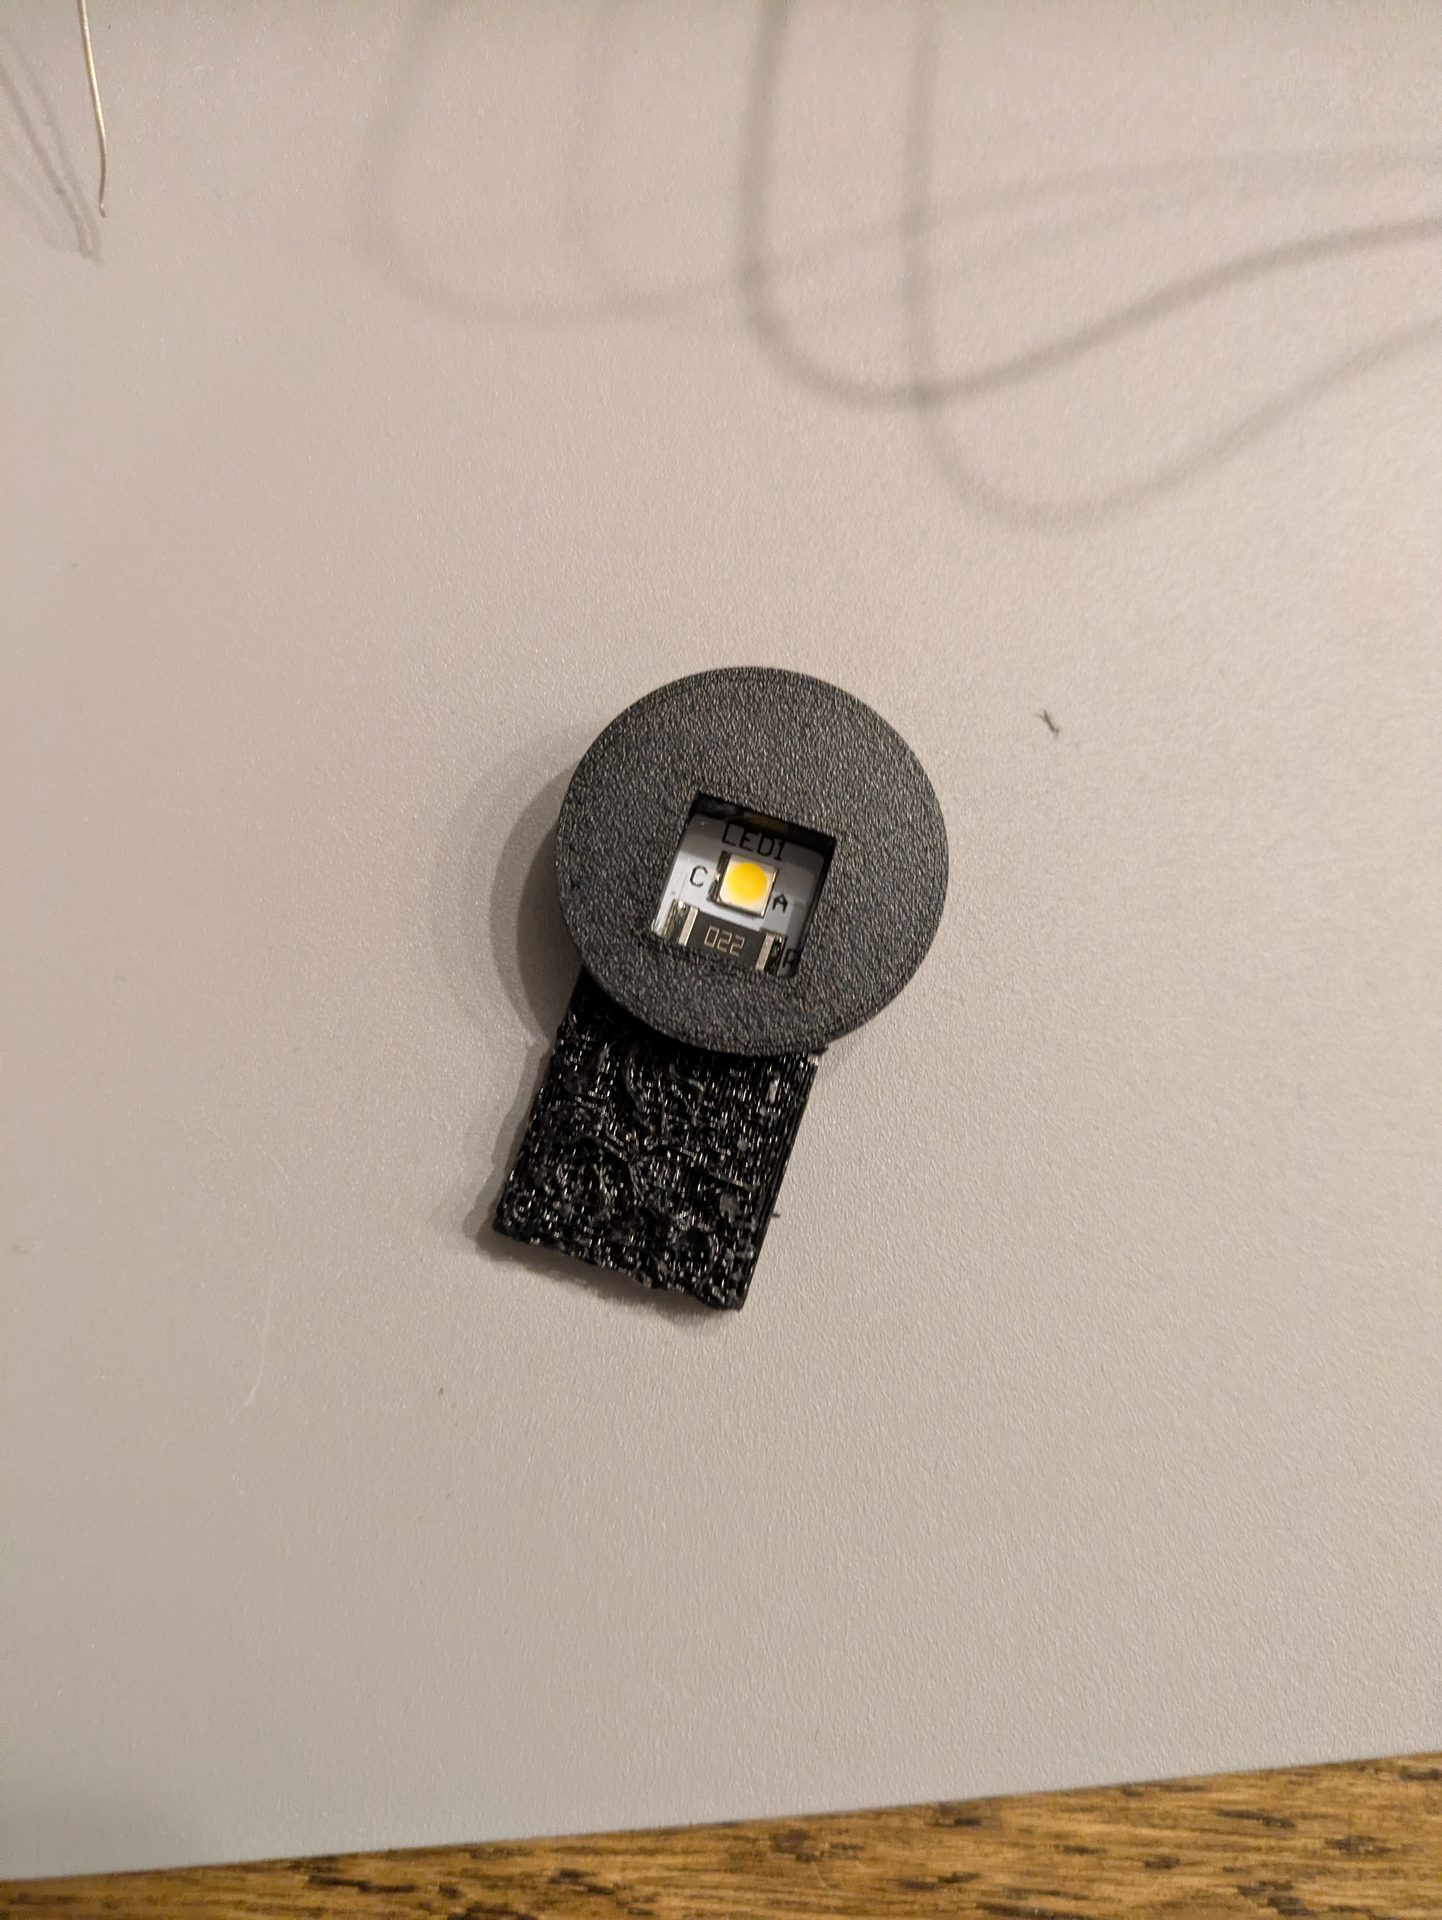
Initial fit check with the flasher lamp in the holder.
Fit and beam angle are perfect.
All holders fully equipped with flasher lamps.
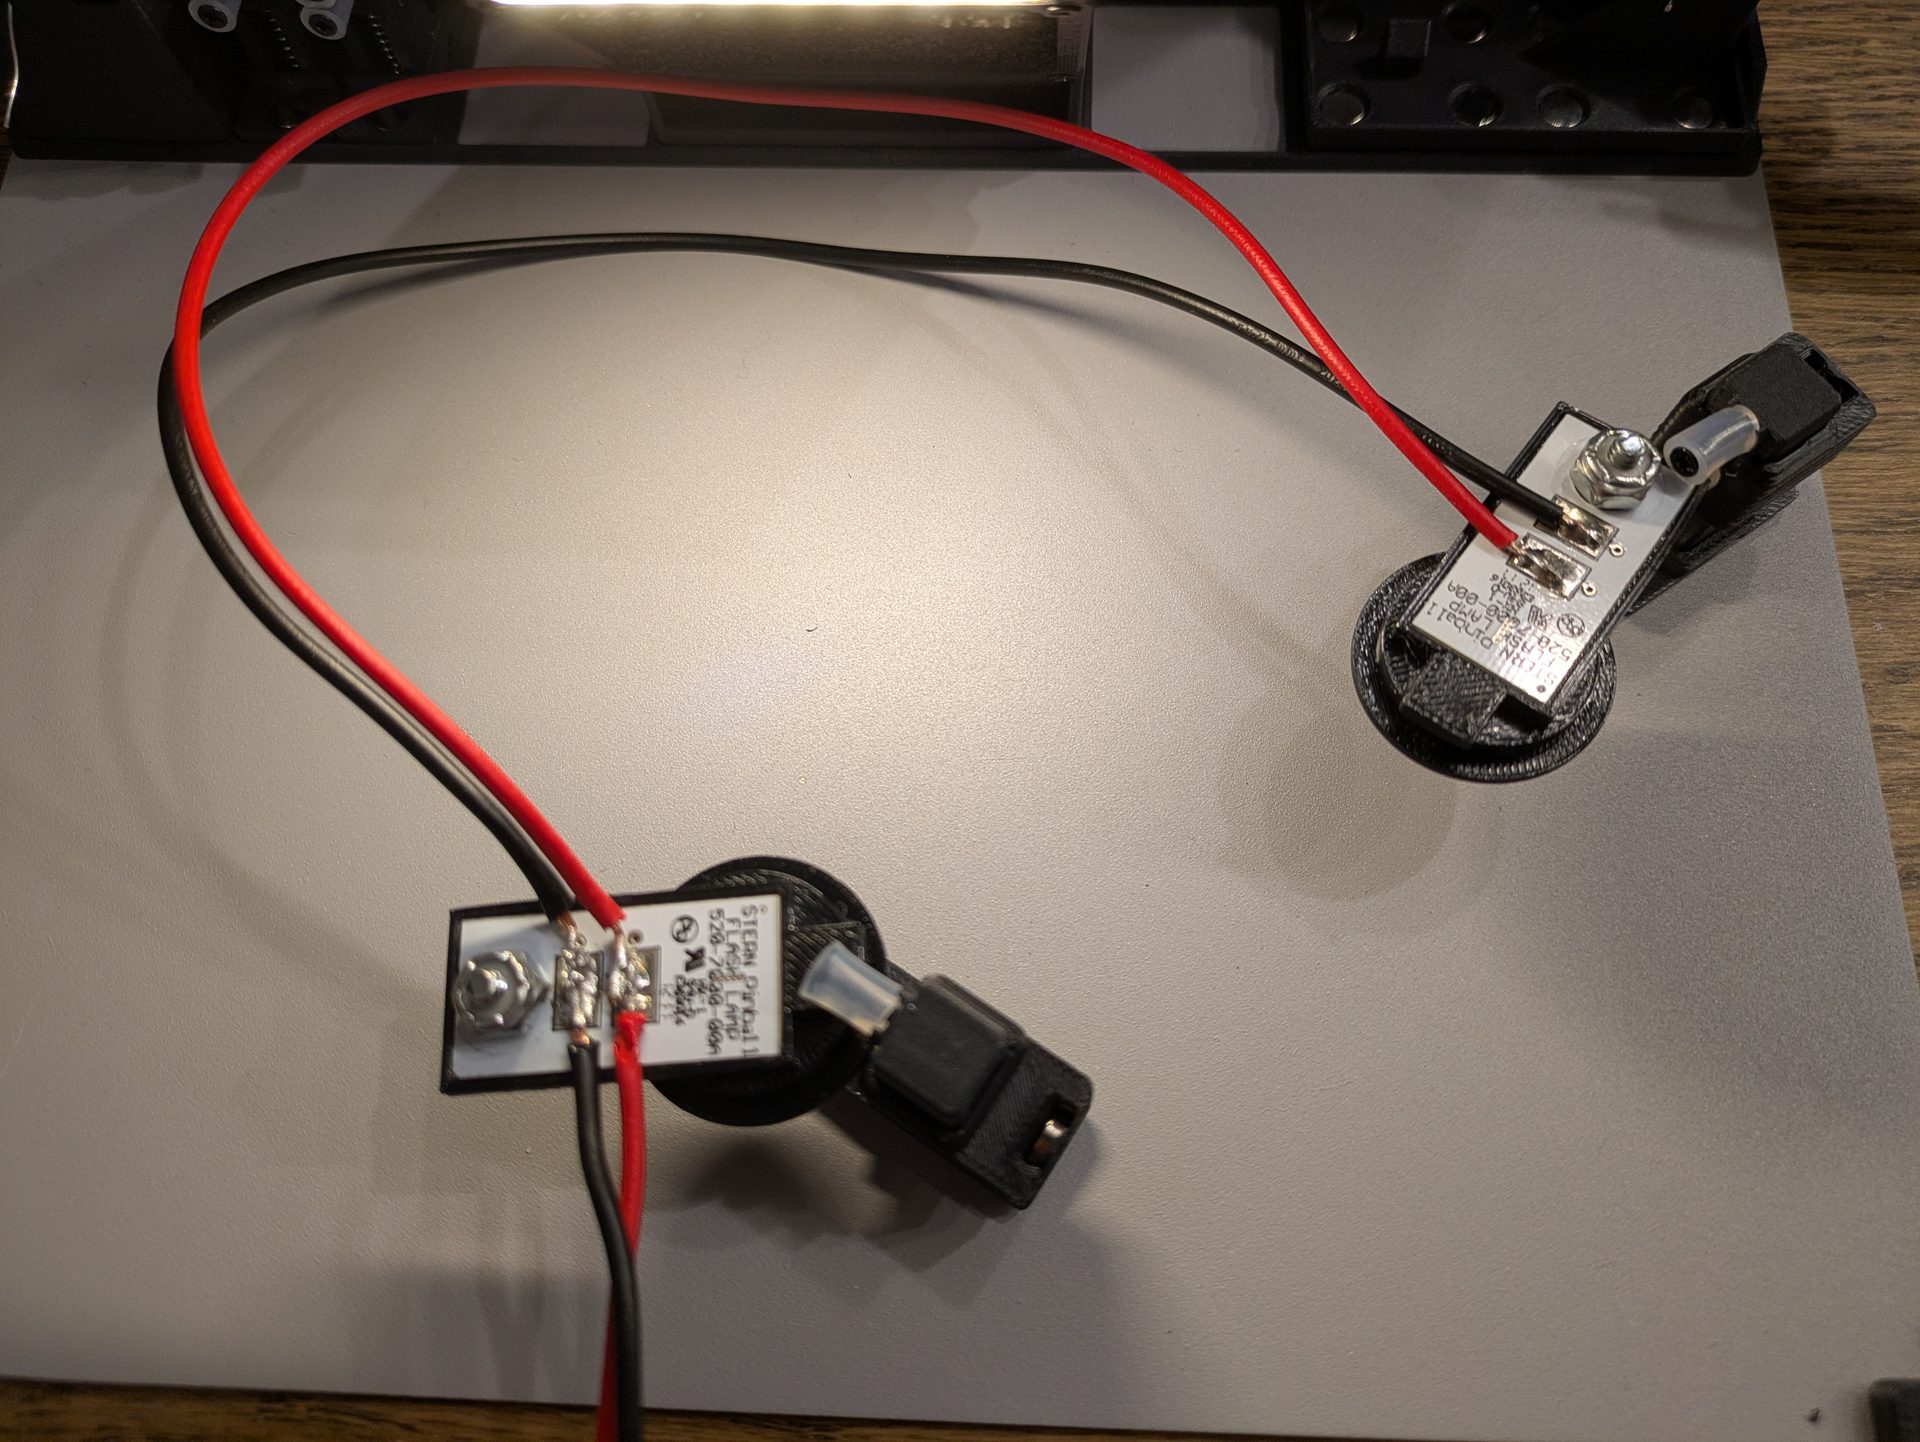
Flasher lamps soldered and ready for connection.
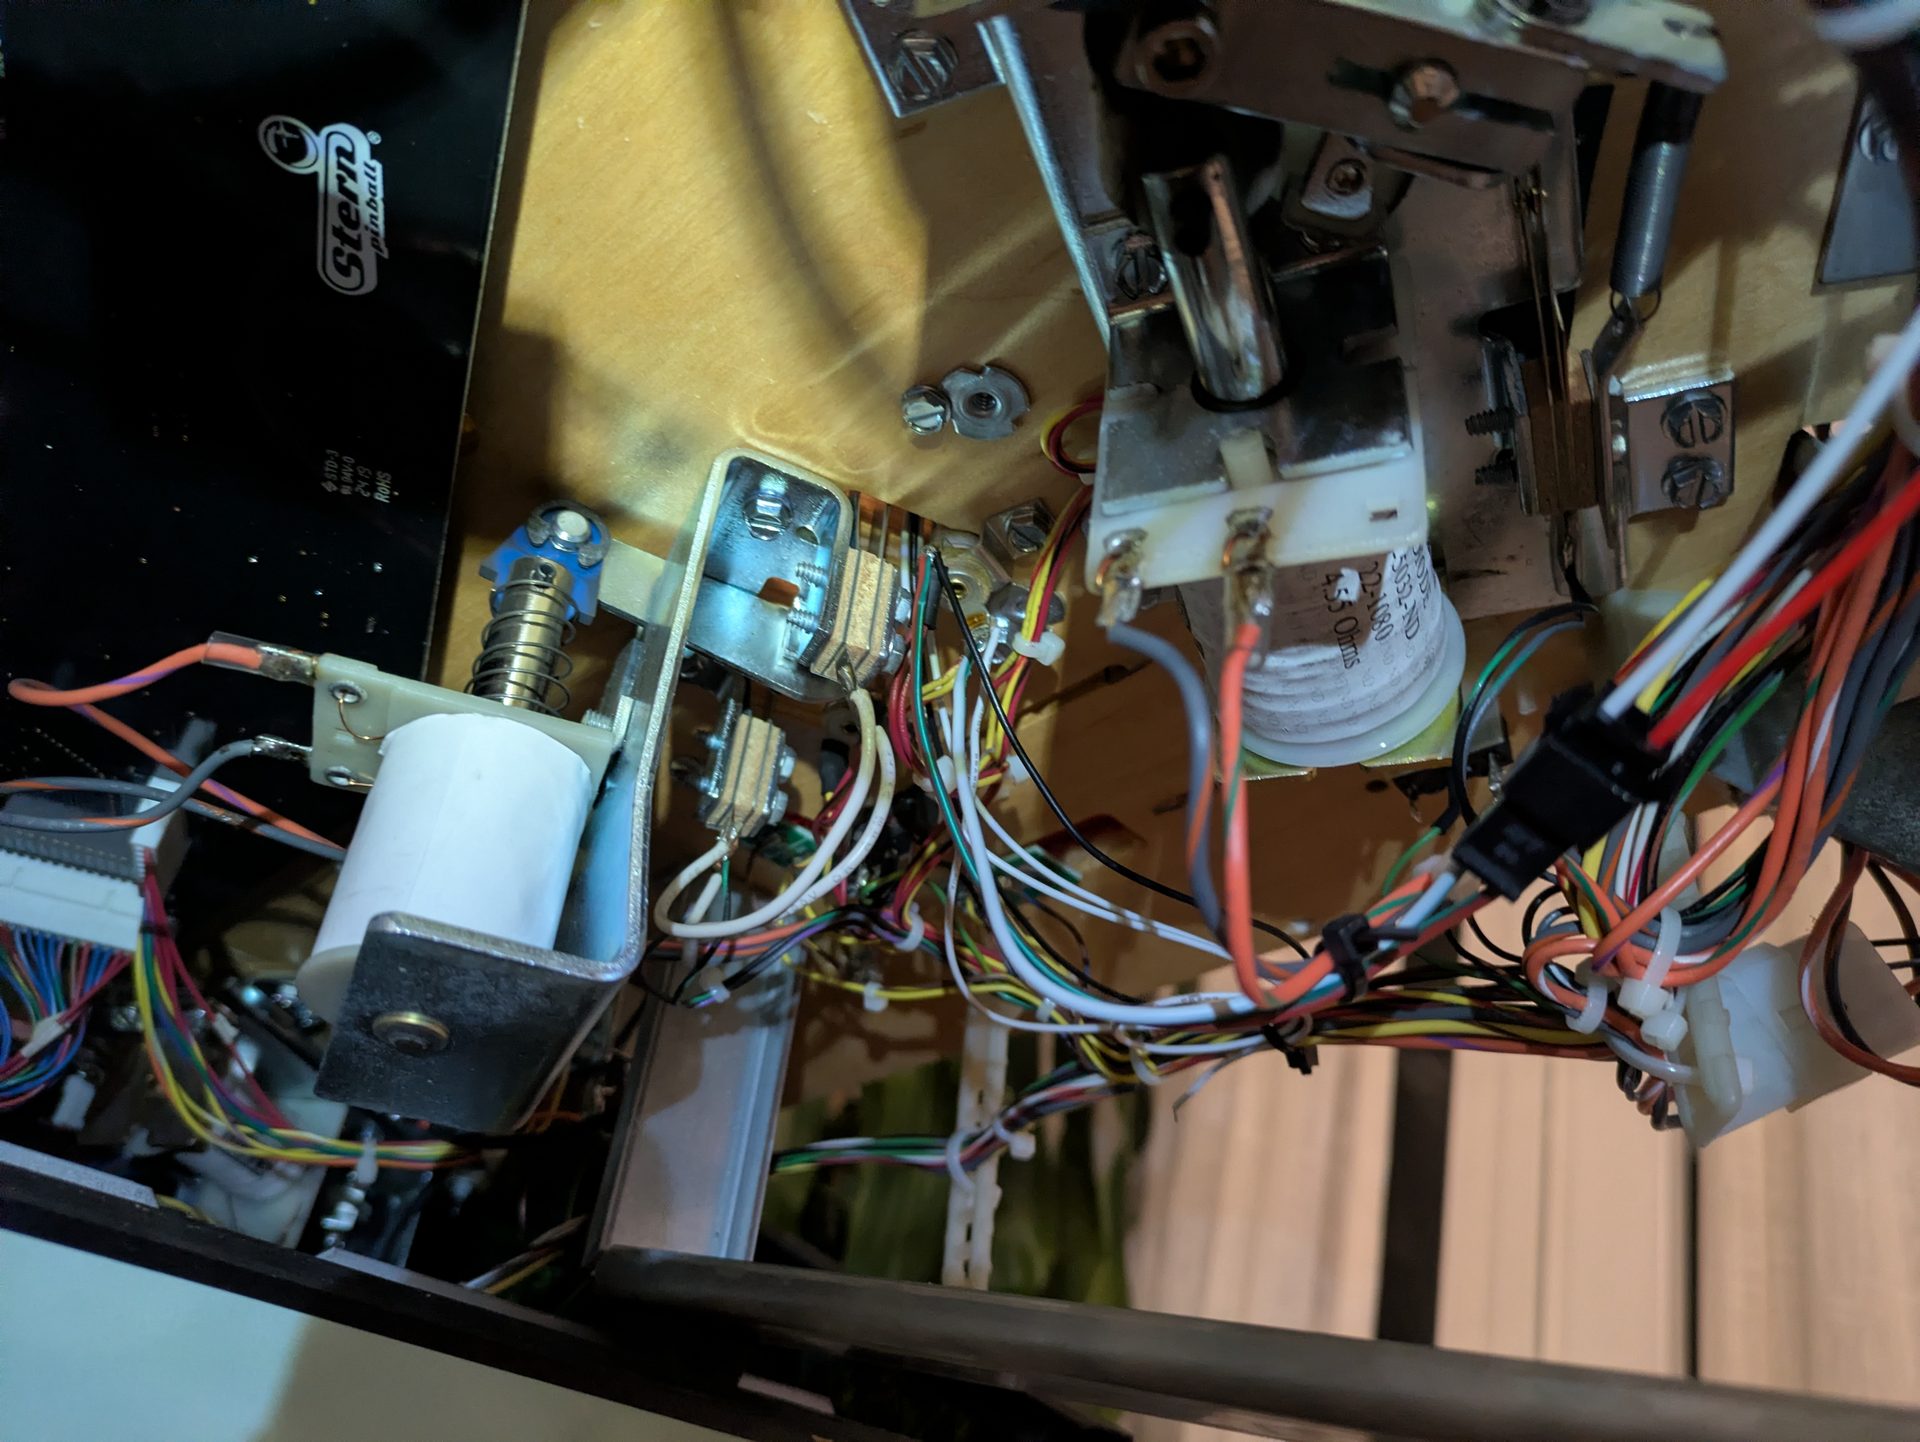
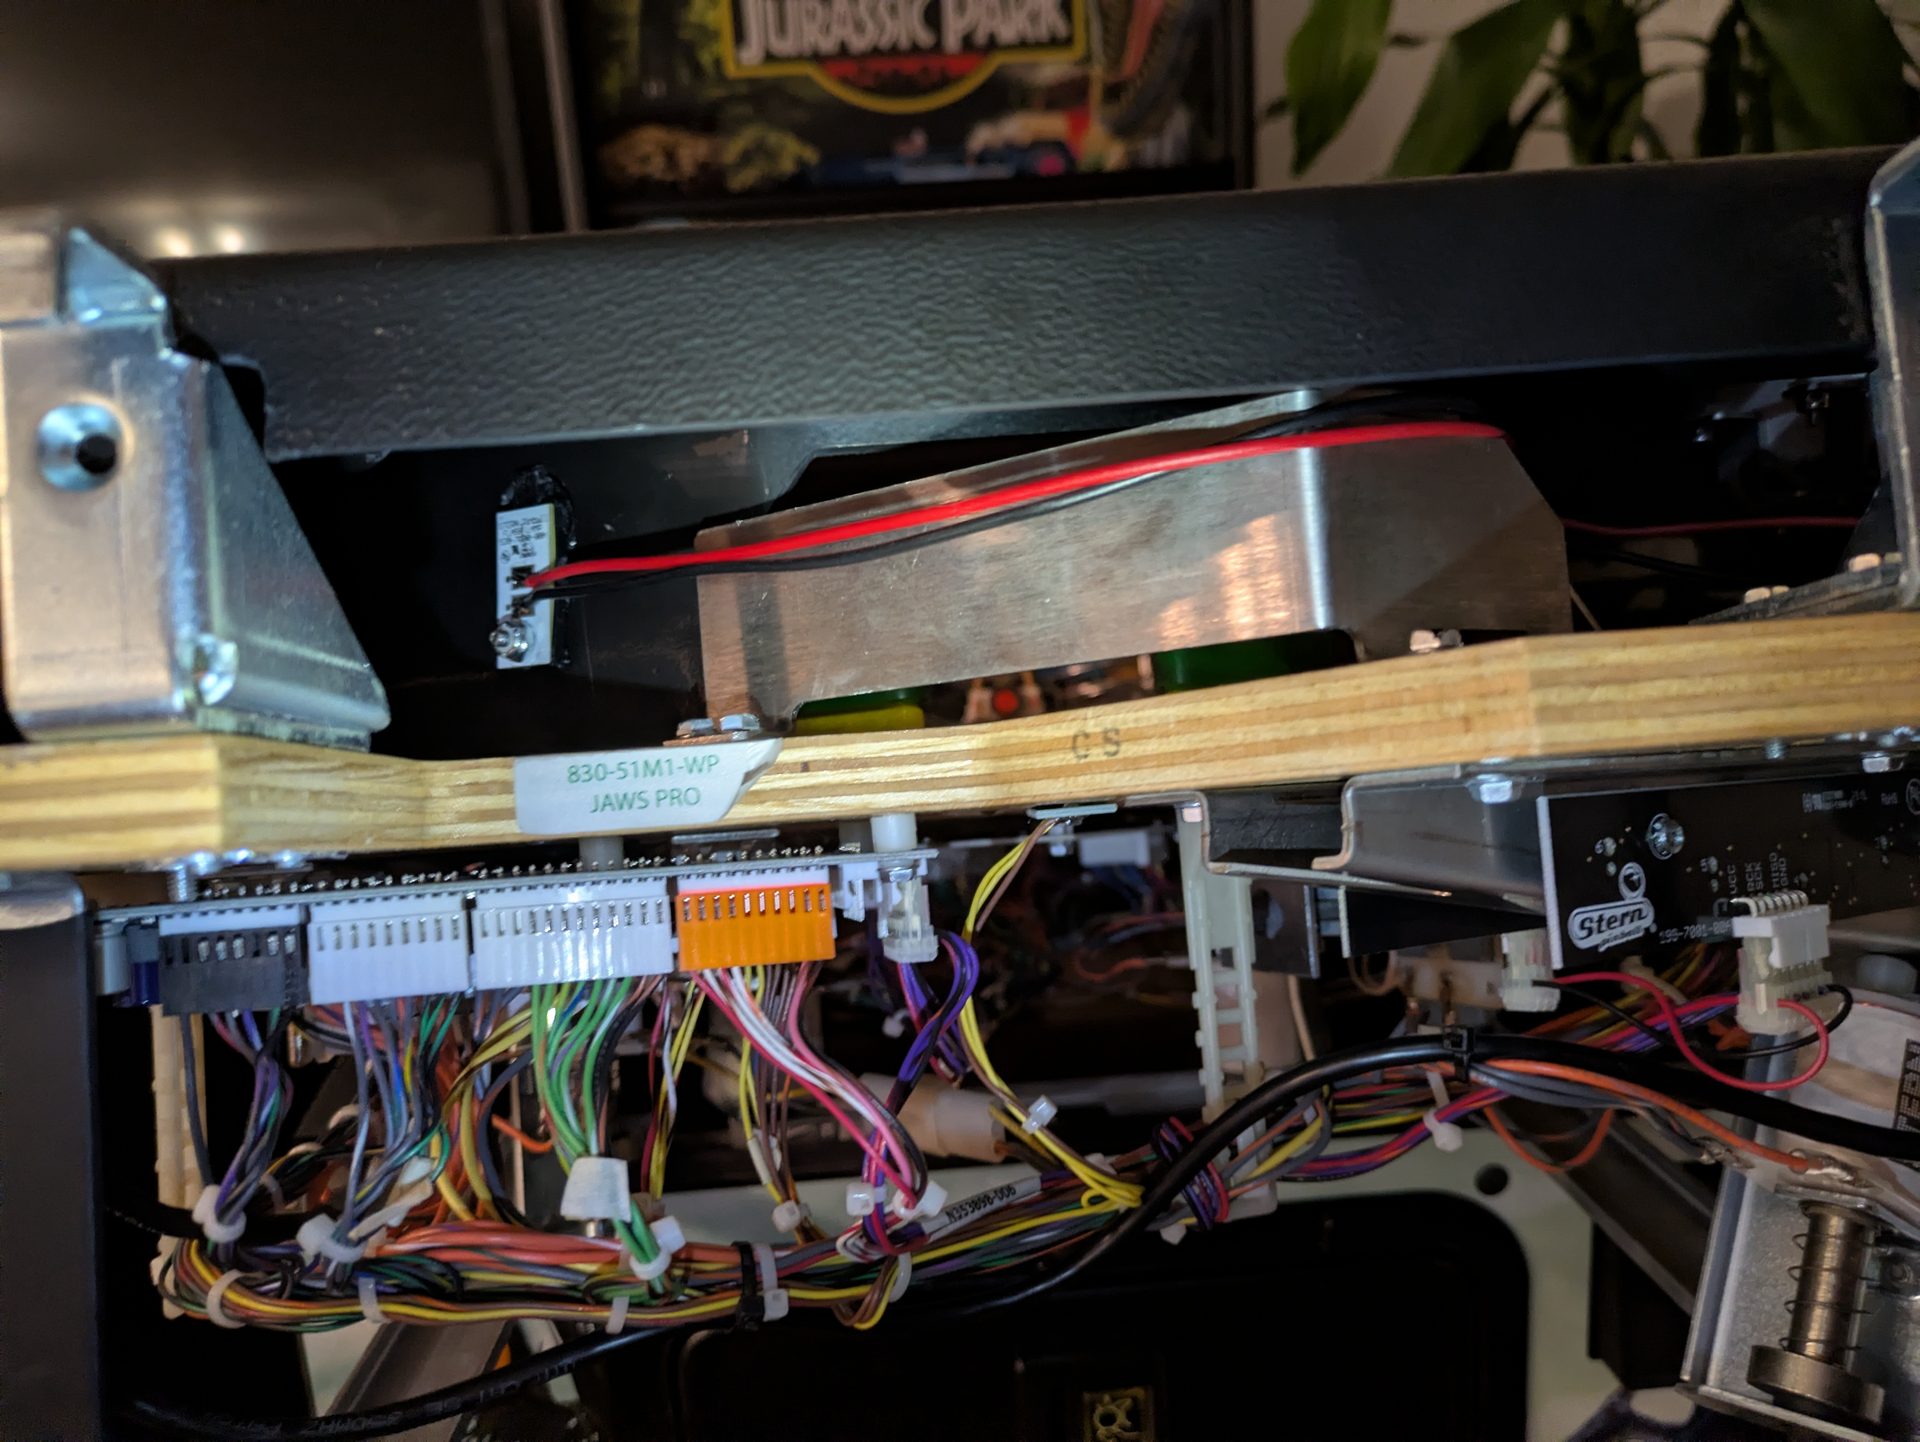
Power from the Slingshot
No need to run a new line through the entire machine—I tapped the power directly at the slingshot. The voltage is correct, it’s already fused, and there’s no interference with the main wiring harness.
Power from the slingshot — clean and minimalist.
Cable Management
To ensure nothing rattles inside or gets in the way of any mechanisms, I routed and secured the cables cleanly.
Everything neatly organized.
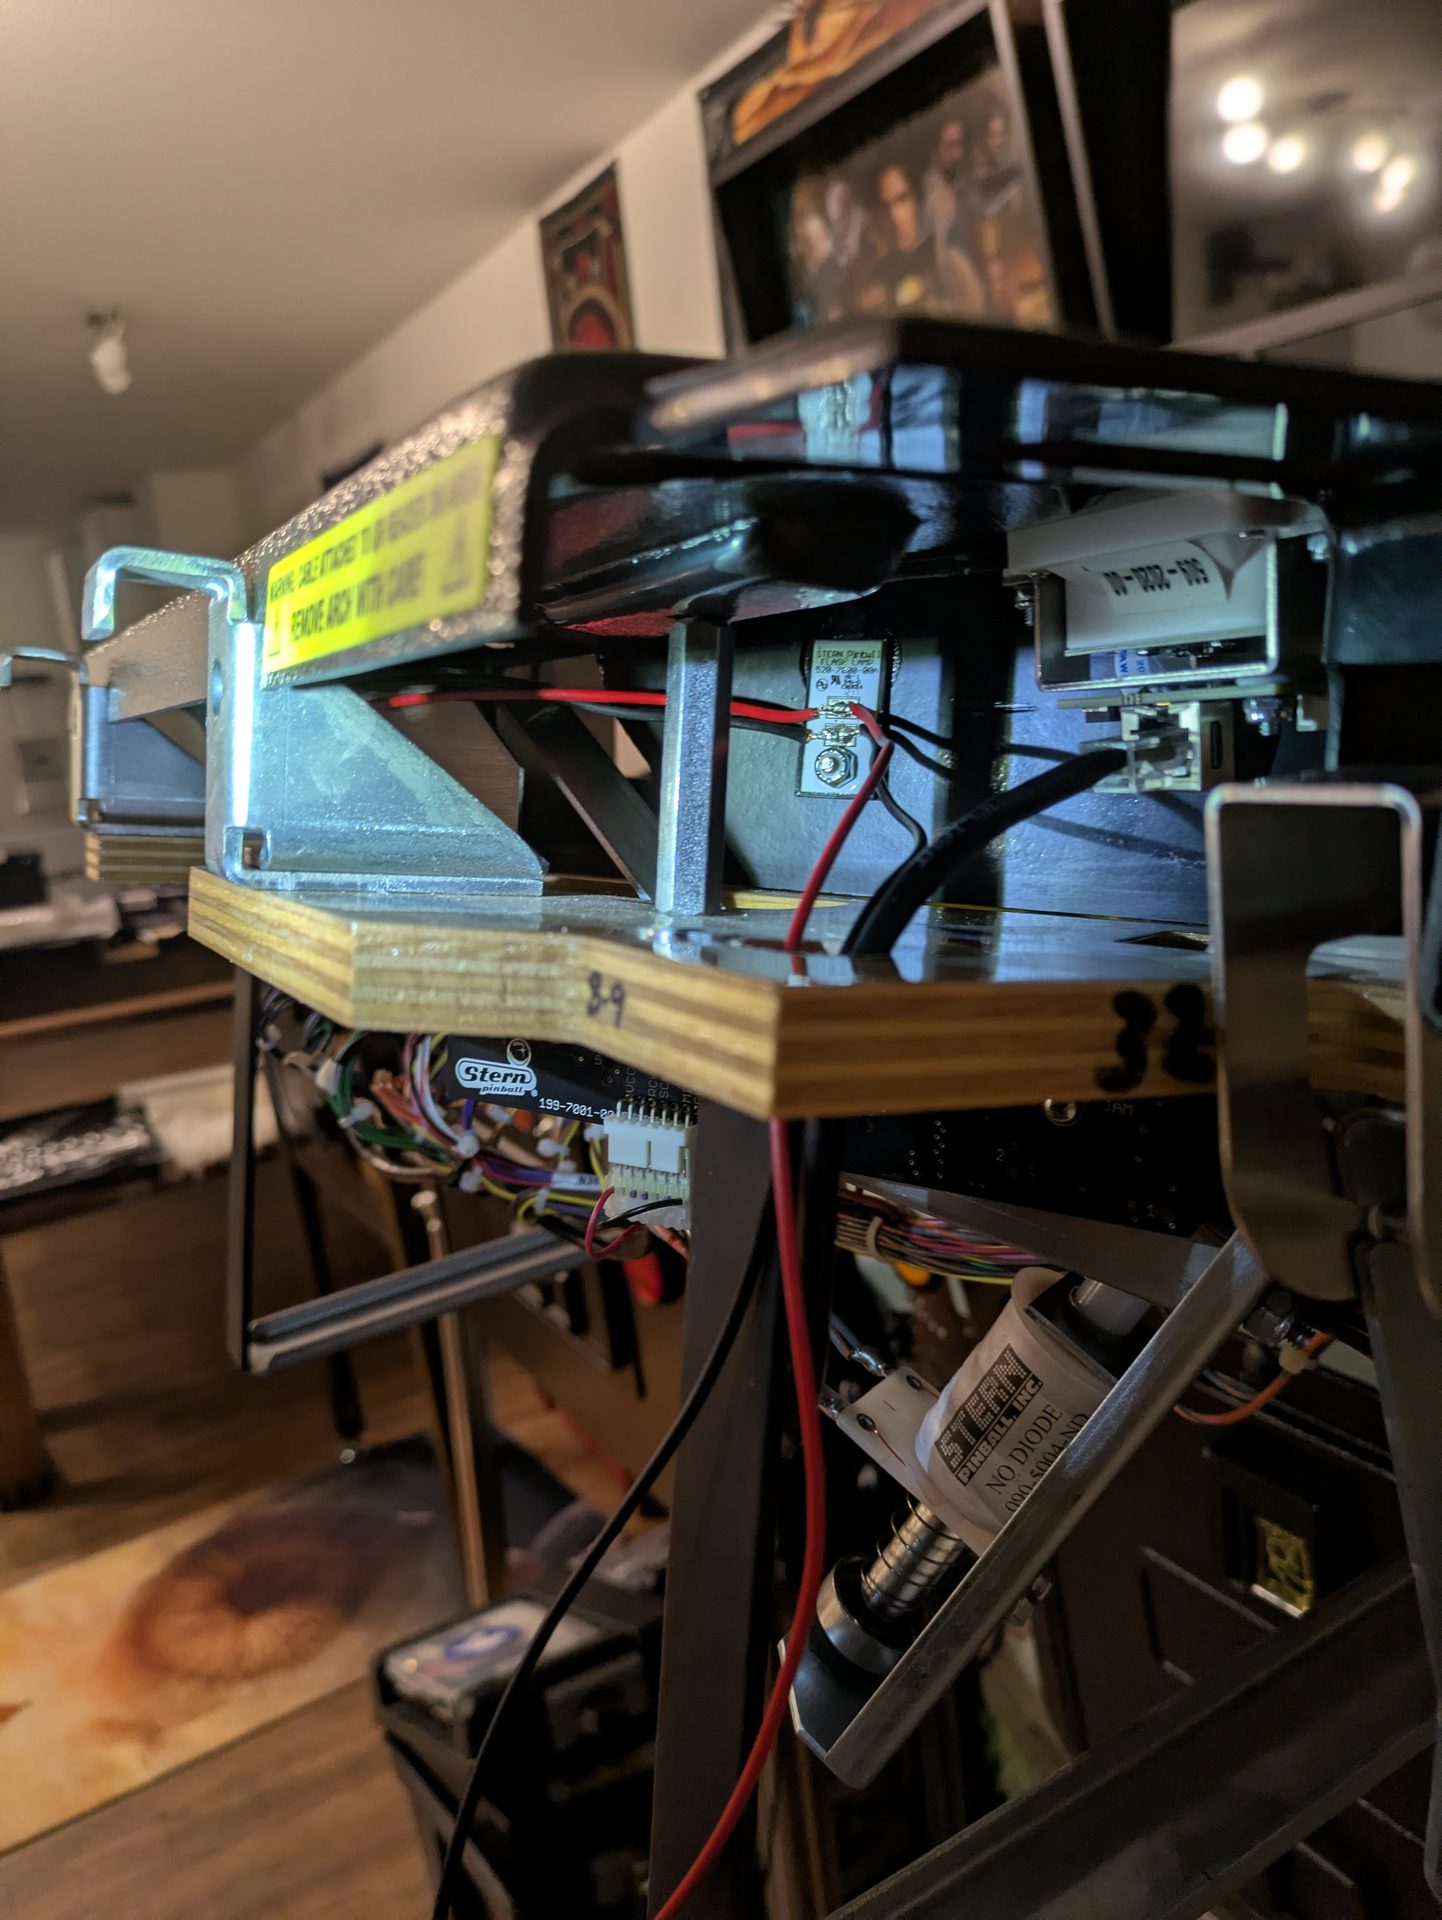
No loose wires, nothing getting pinched.
Installed
Clip the holders in—done. No holes drilled, no glue used, nothing permanently altered.
Fits cleanly in the cutout with no play.
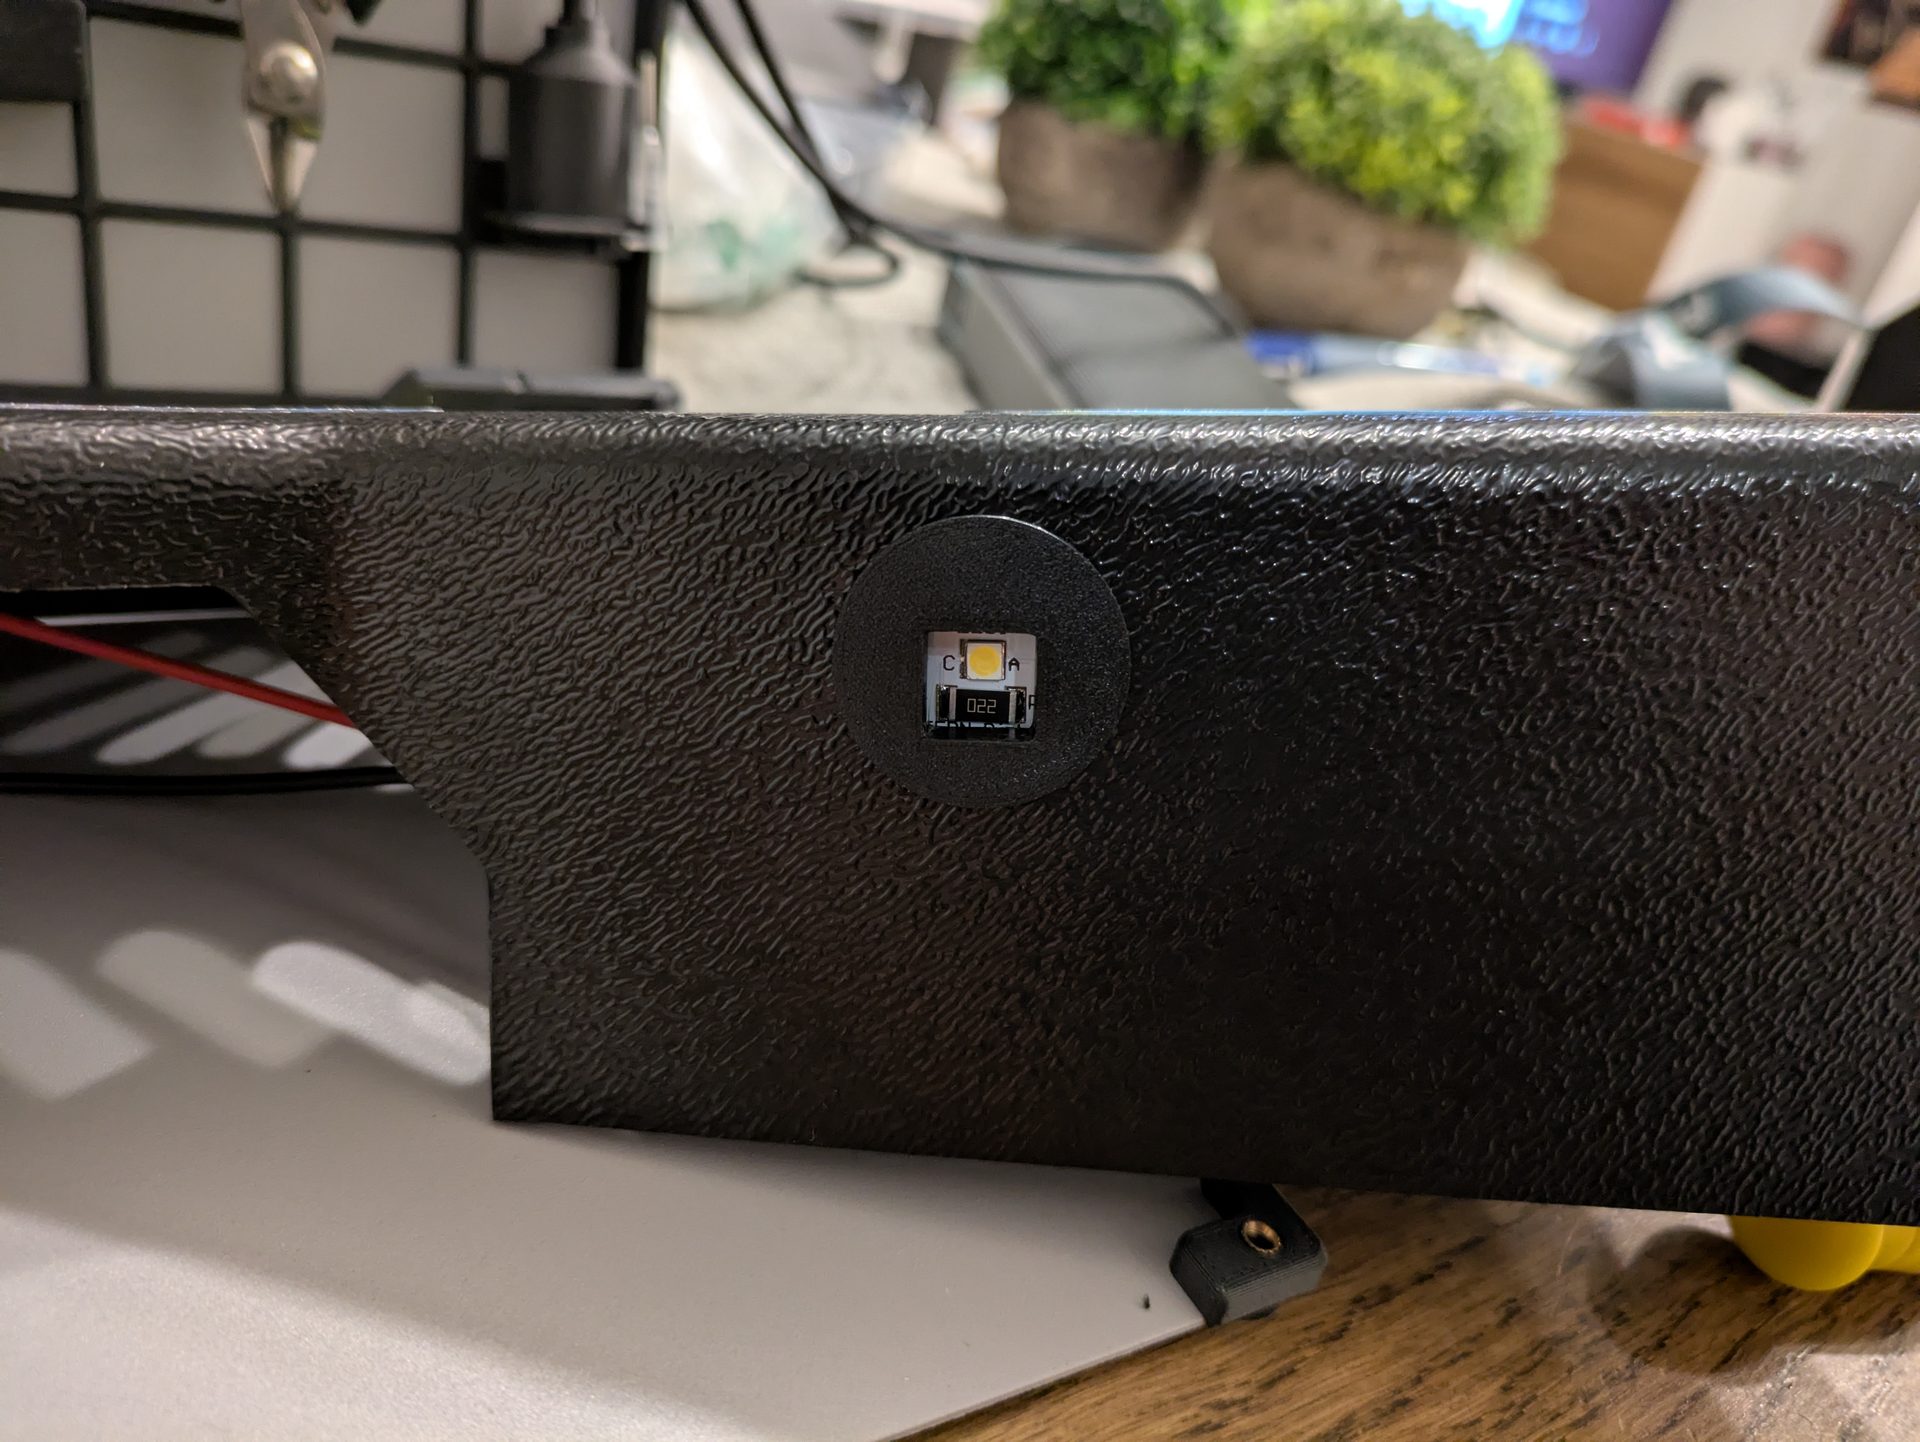
From the outside: flush with the apron.
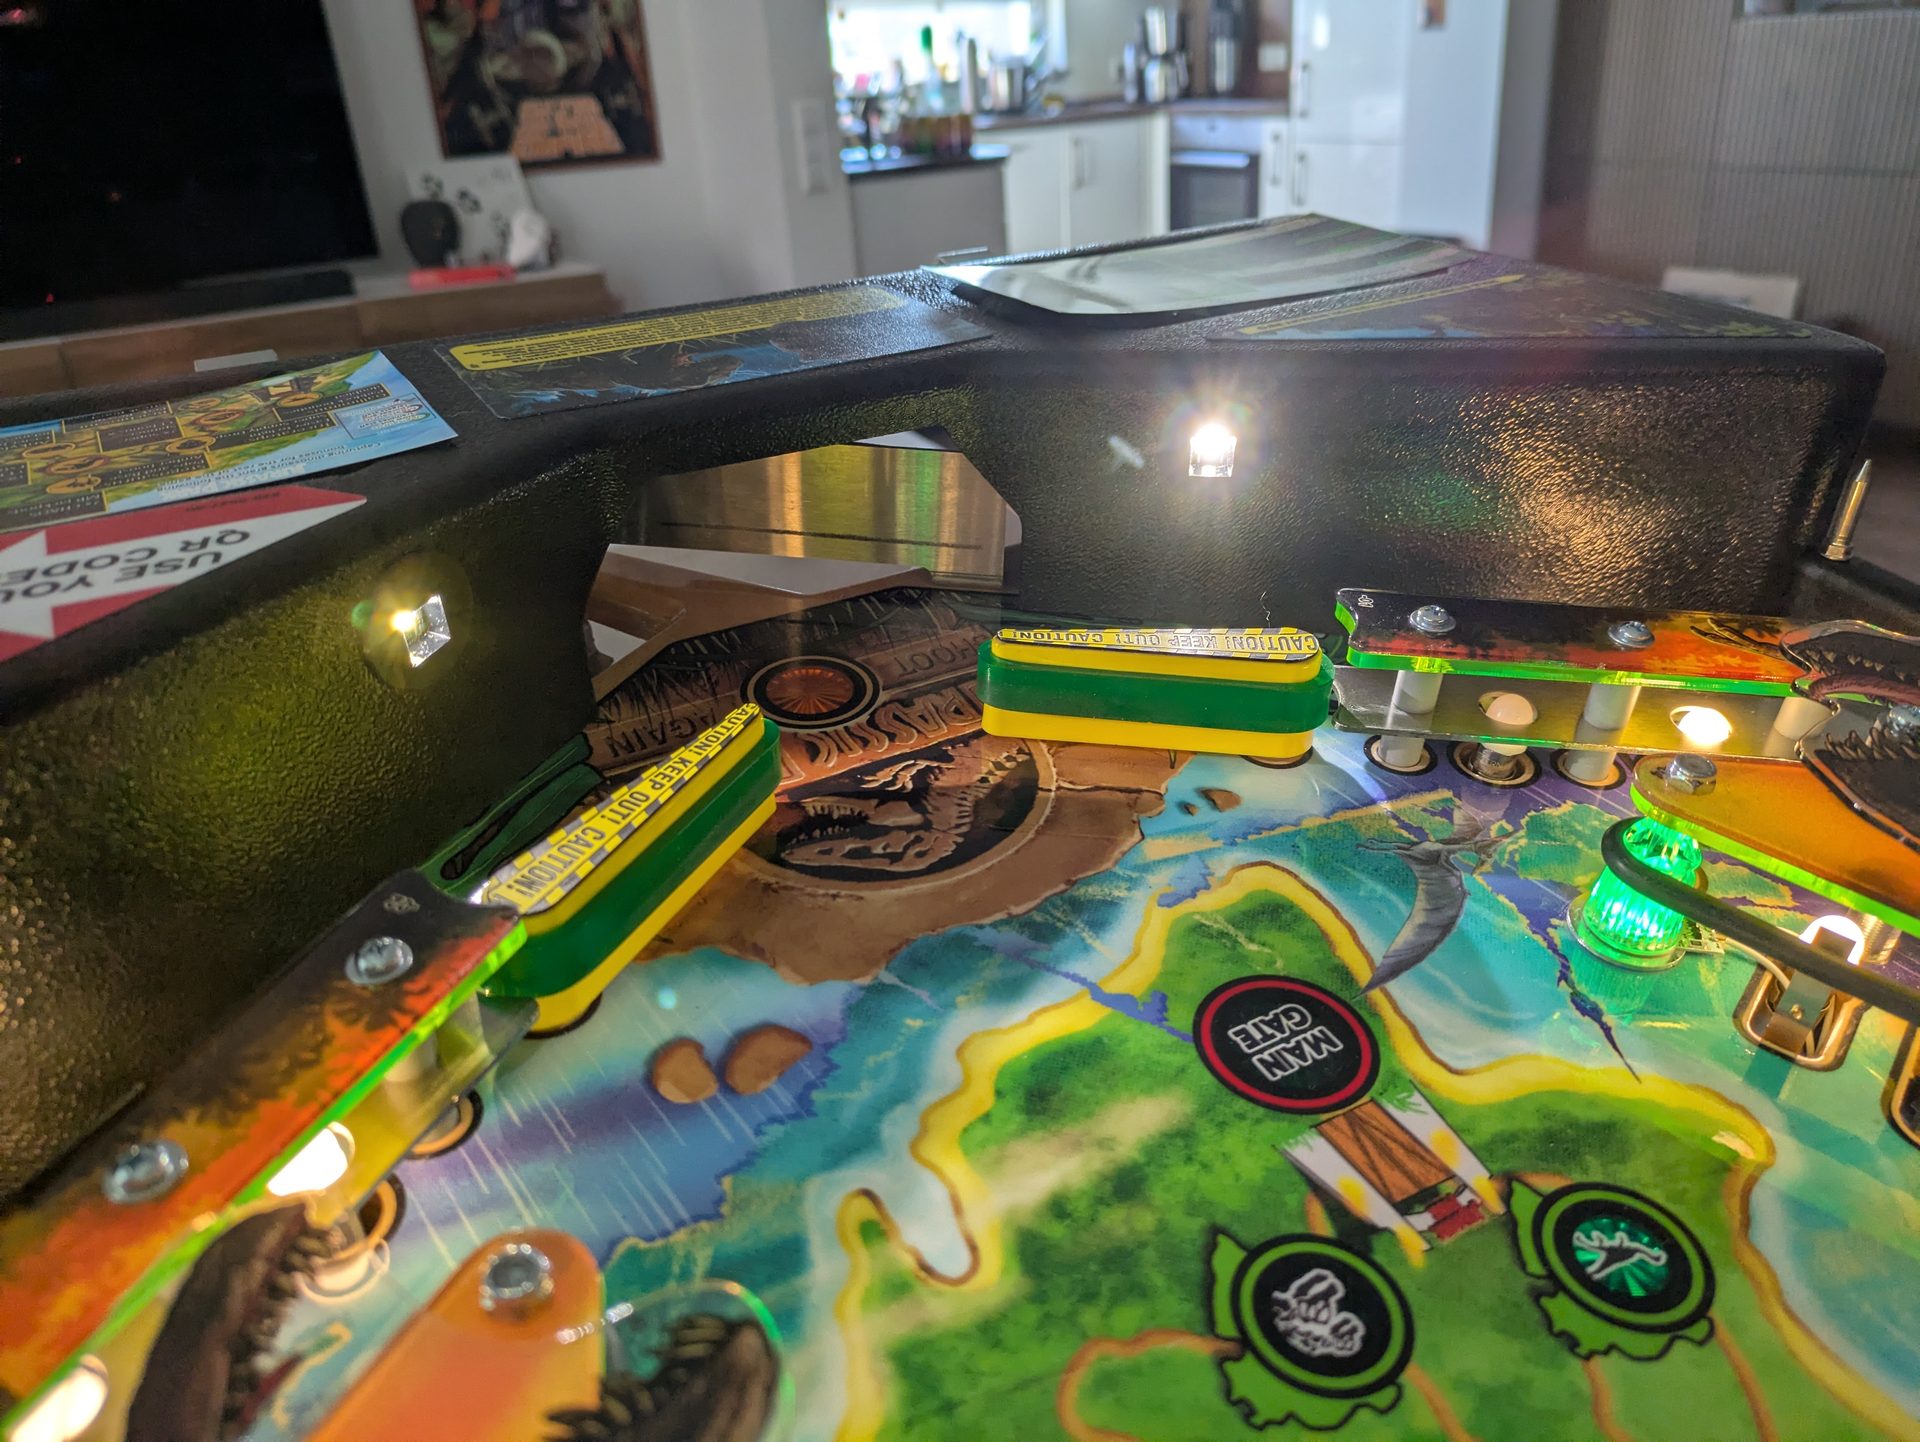
Flasher lamps on — playfield lighting just like newer Stern machines.
In my opinion, it looks cleaner than the factory mounting on JAWS—and it can be removed in five minutes without leaving a trace. If you have the Insider Connected Kit and haven’t installed the Stern flasher lamps (#520-7000-00) yet, it’s definitely worth it. You can find the STL file for the holder on Thingiverse.
Note: This blog post was created with the help of ai (Claude Sonnet 4.6).
translated with Gemini